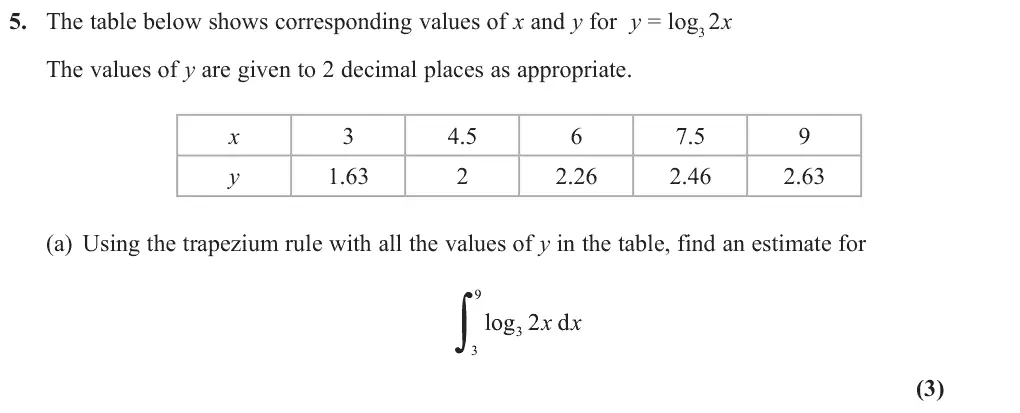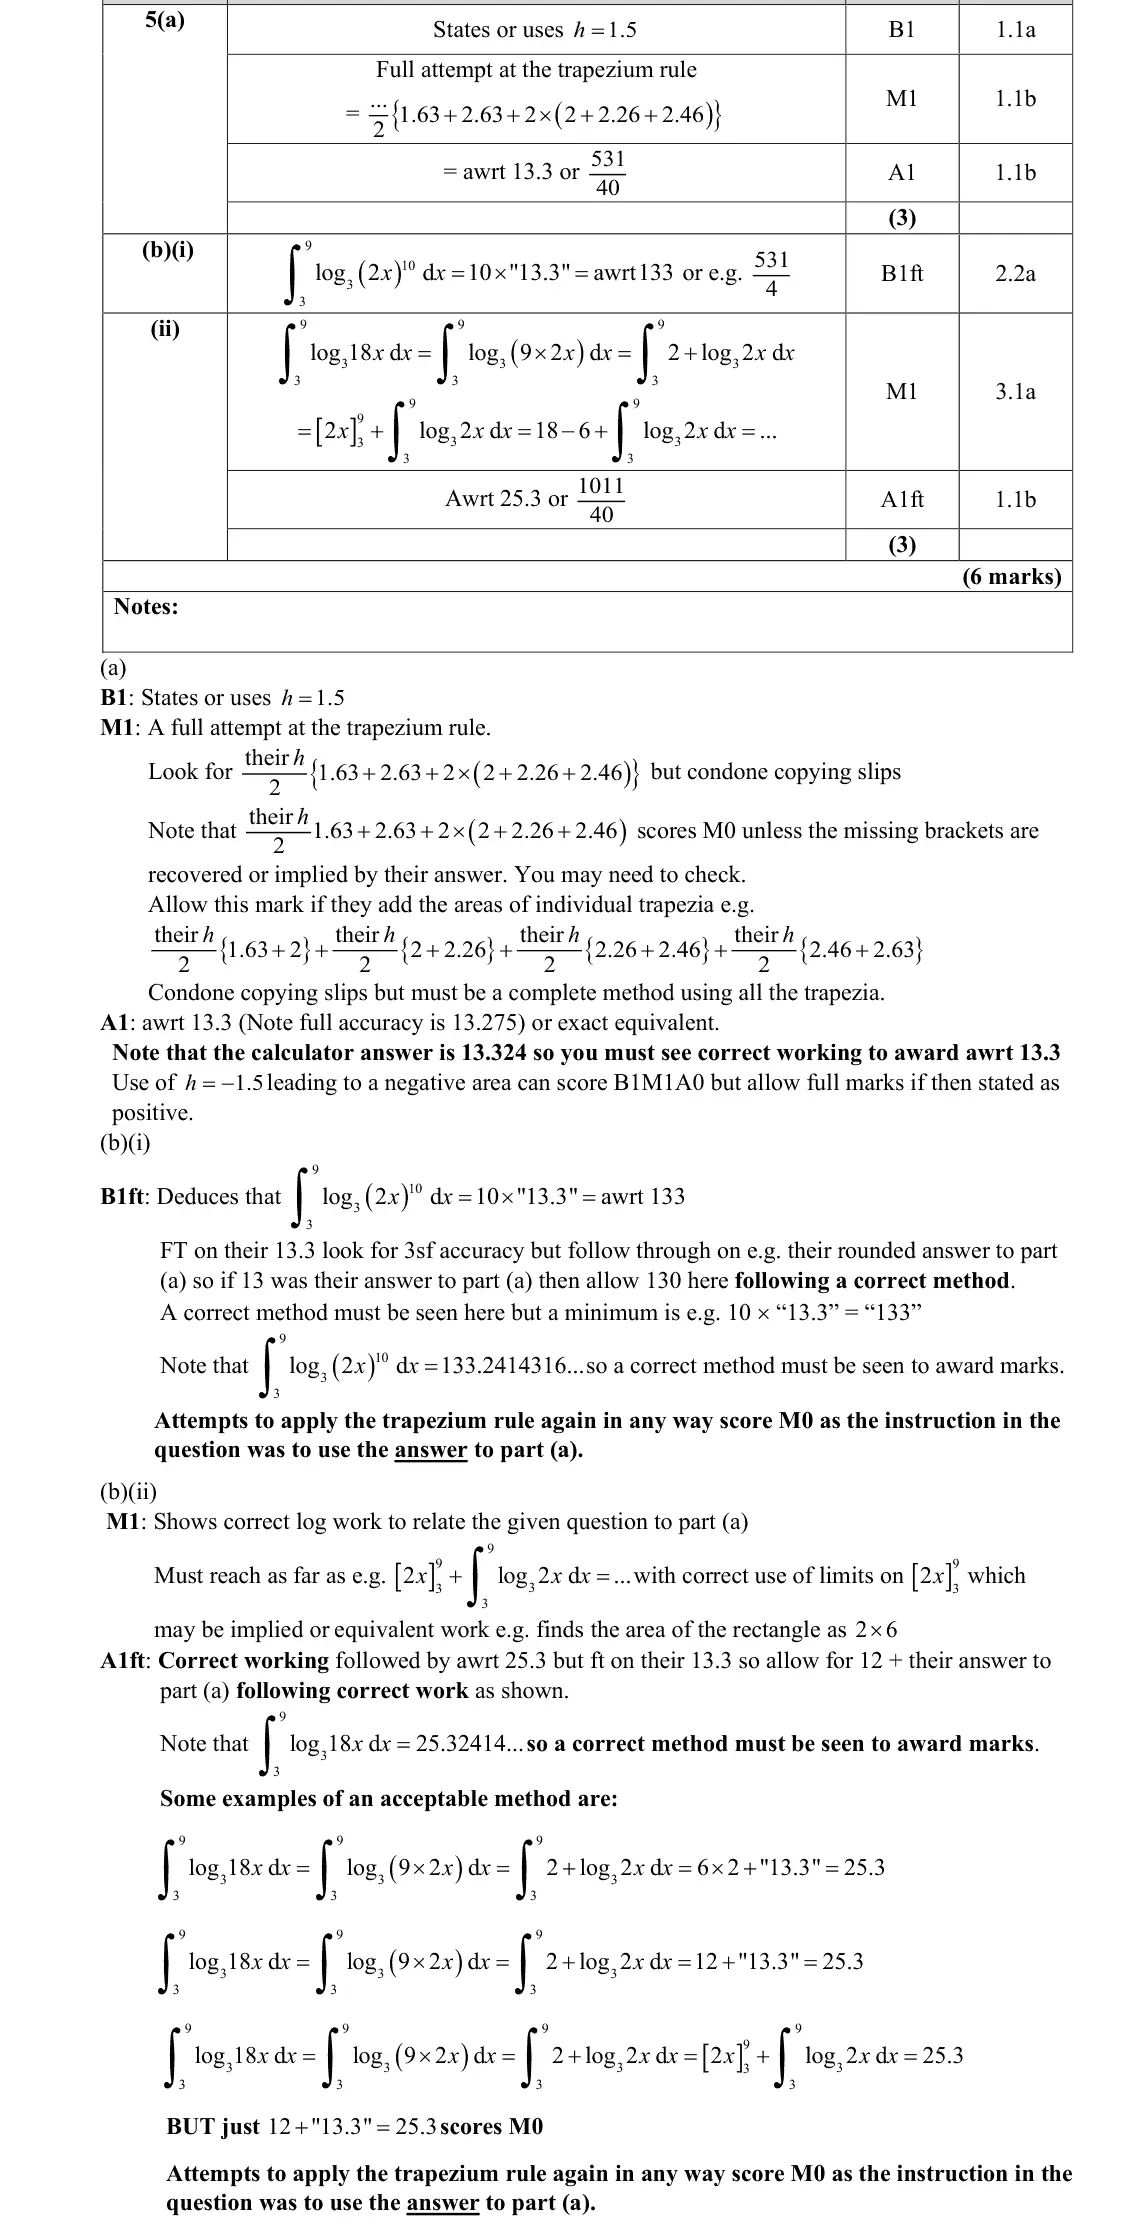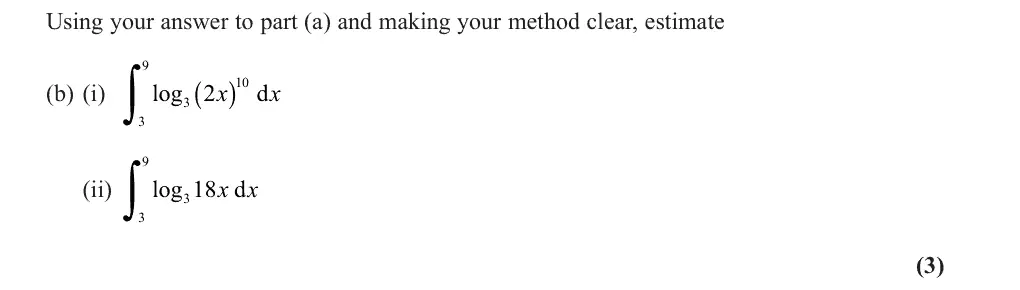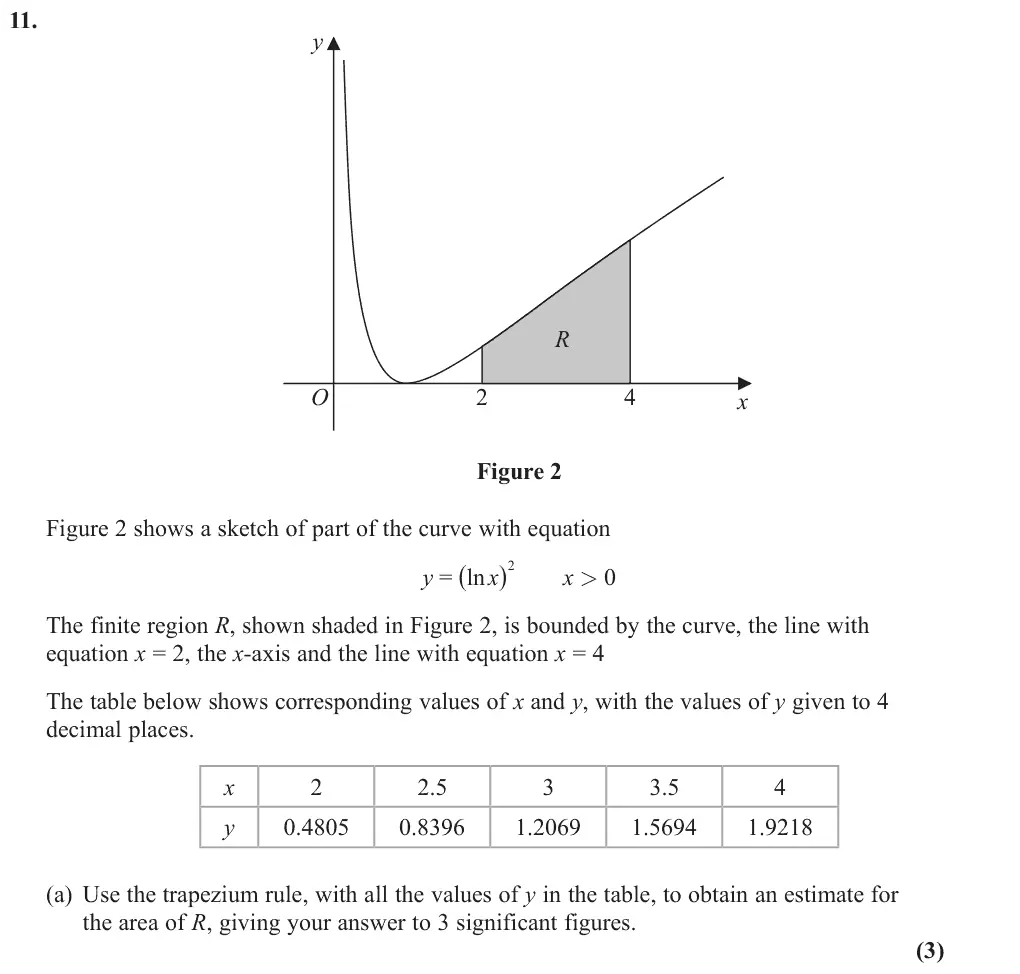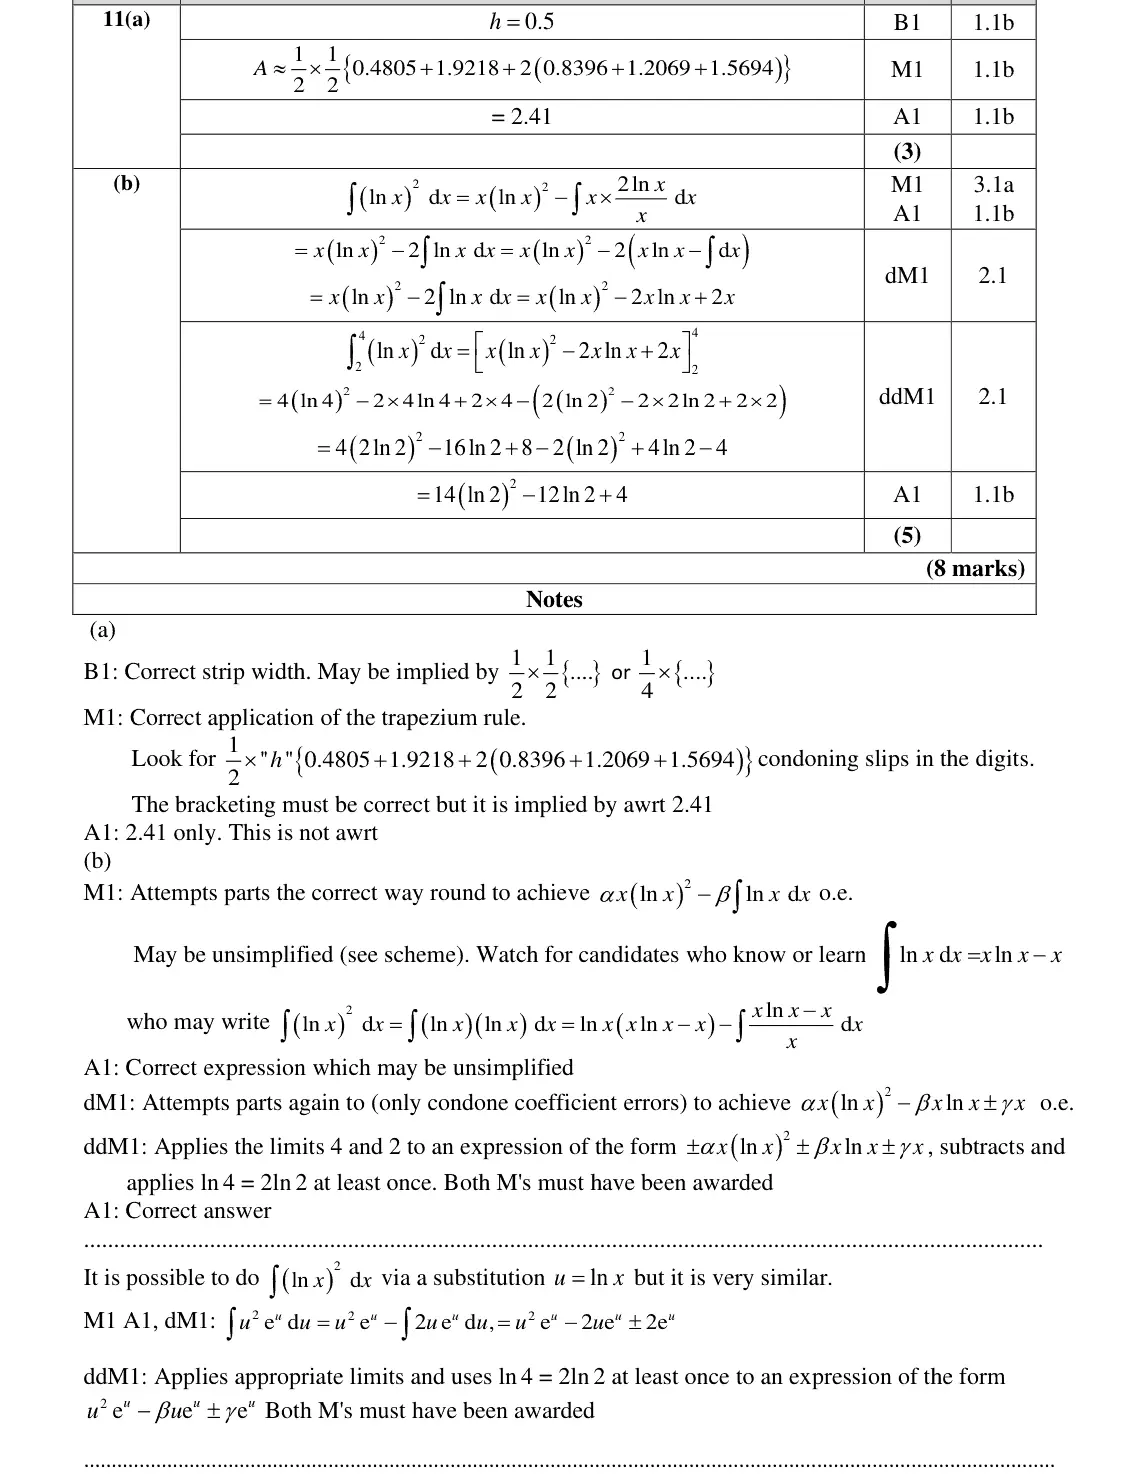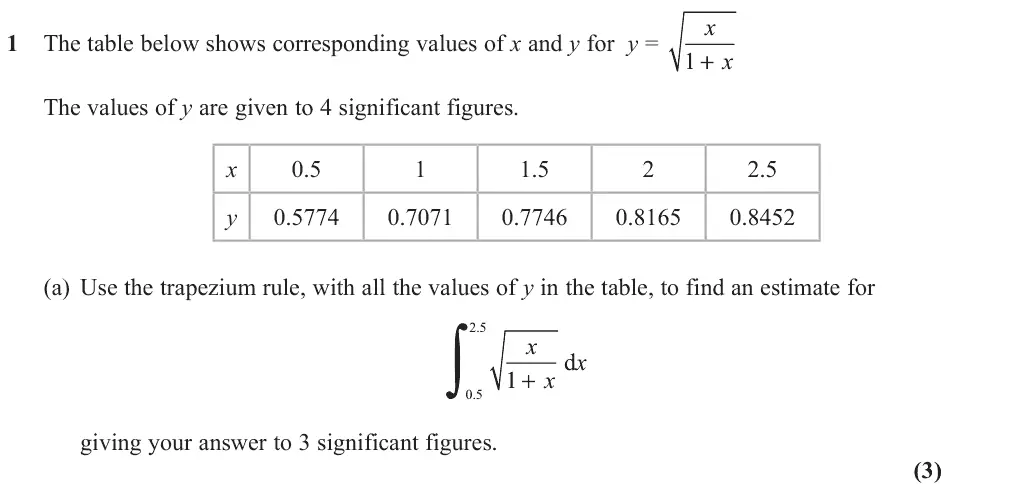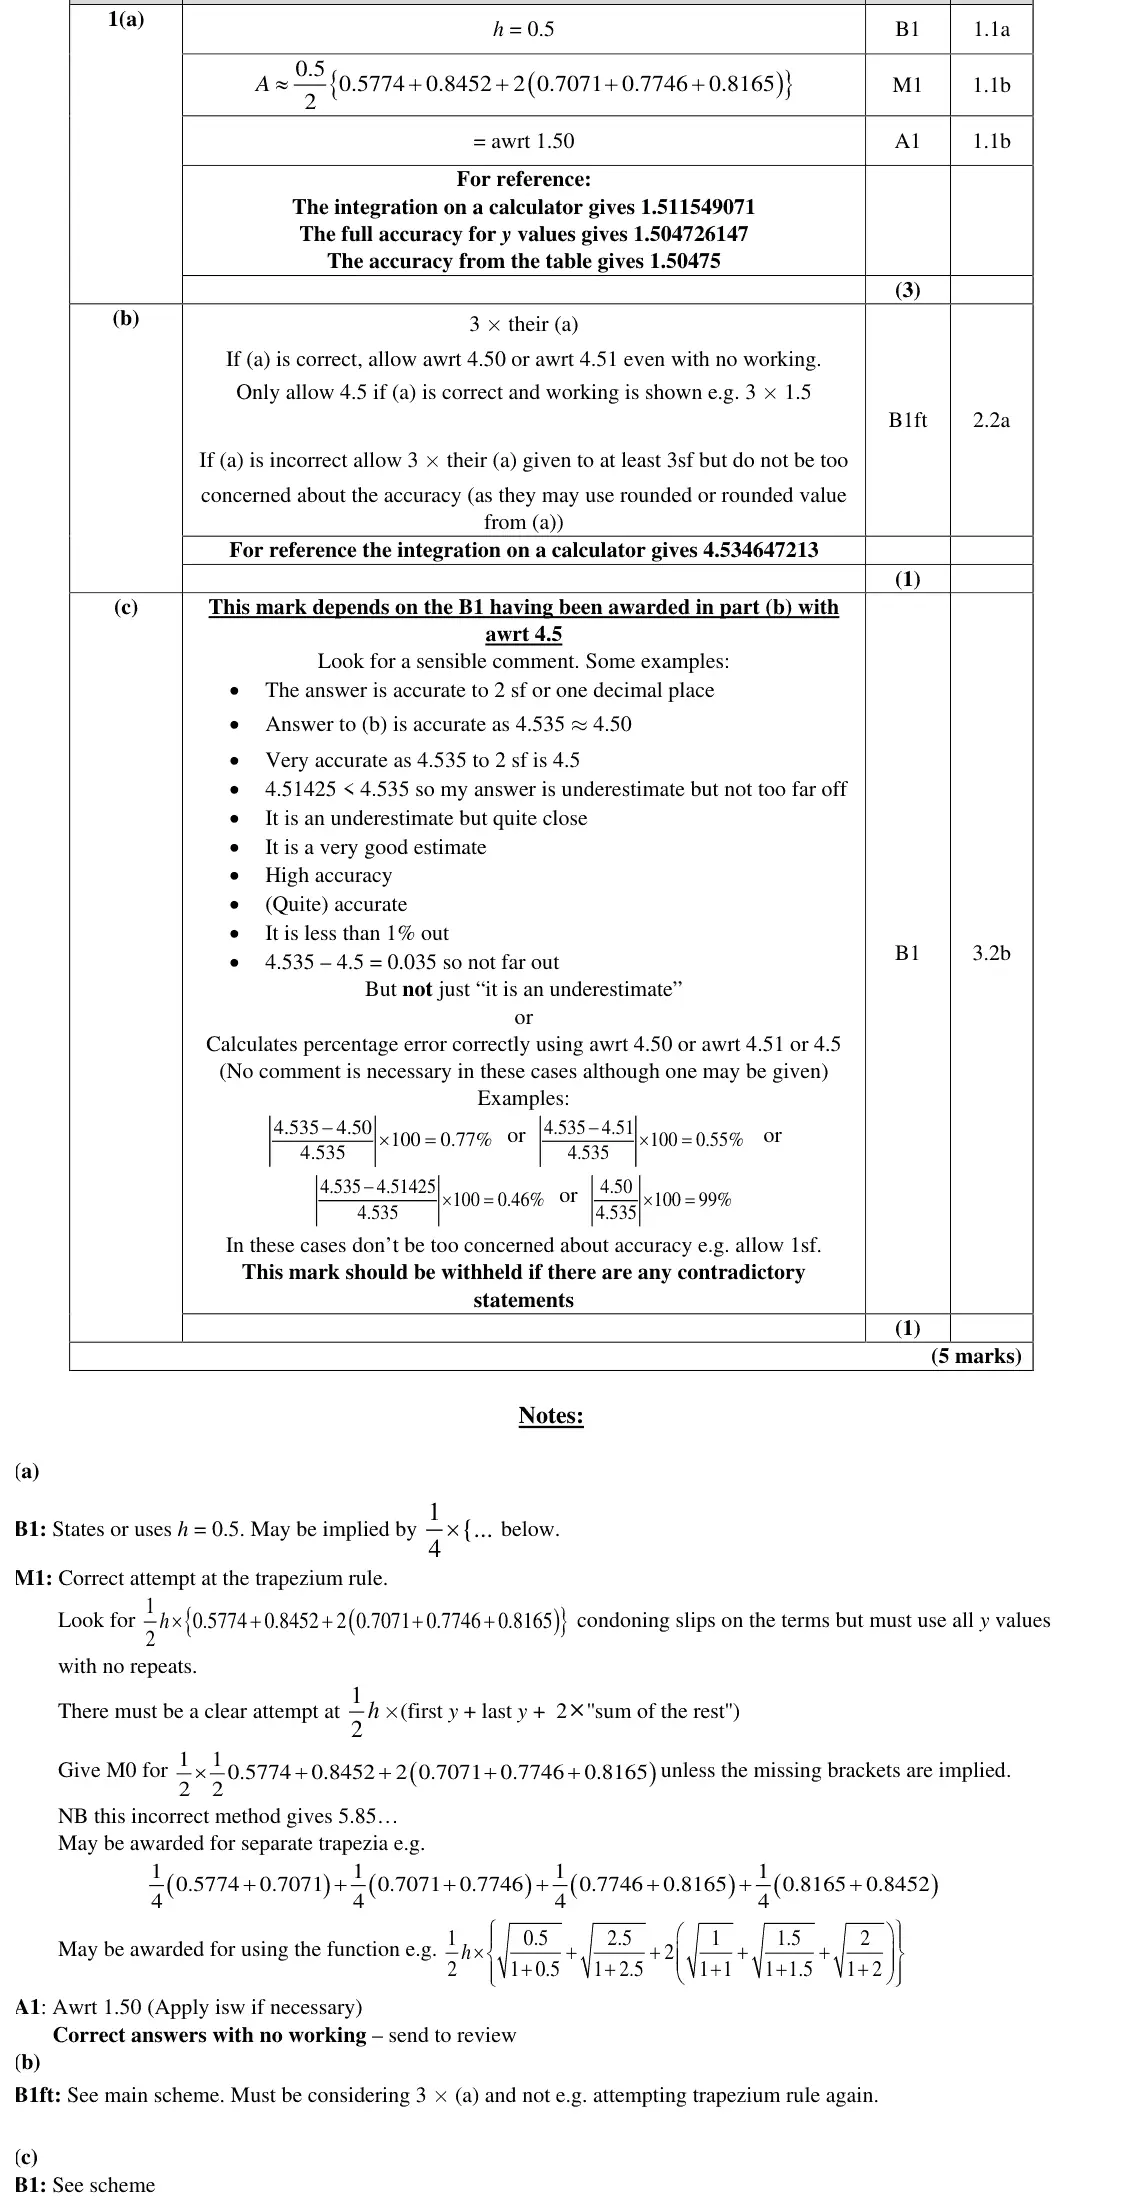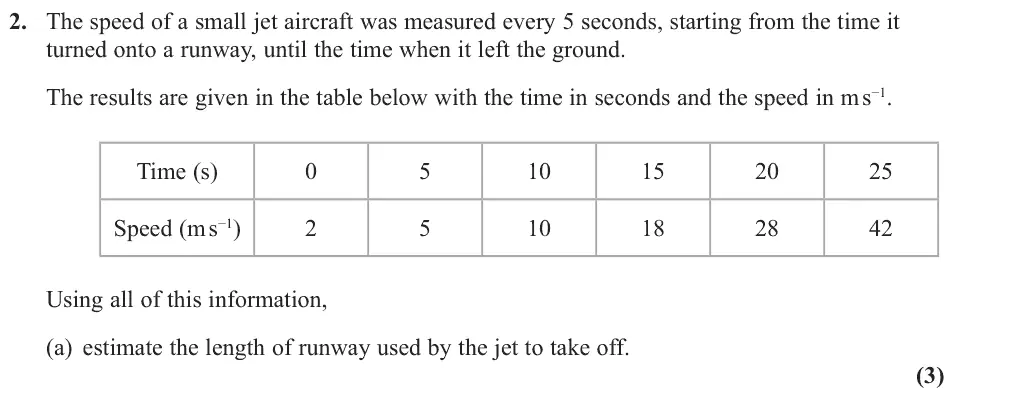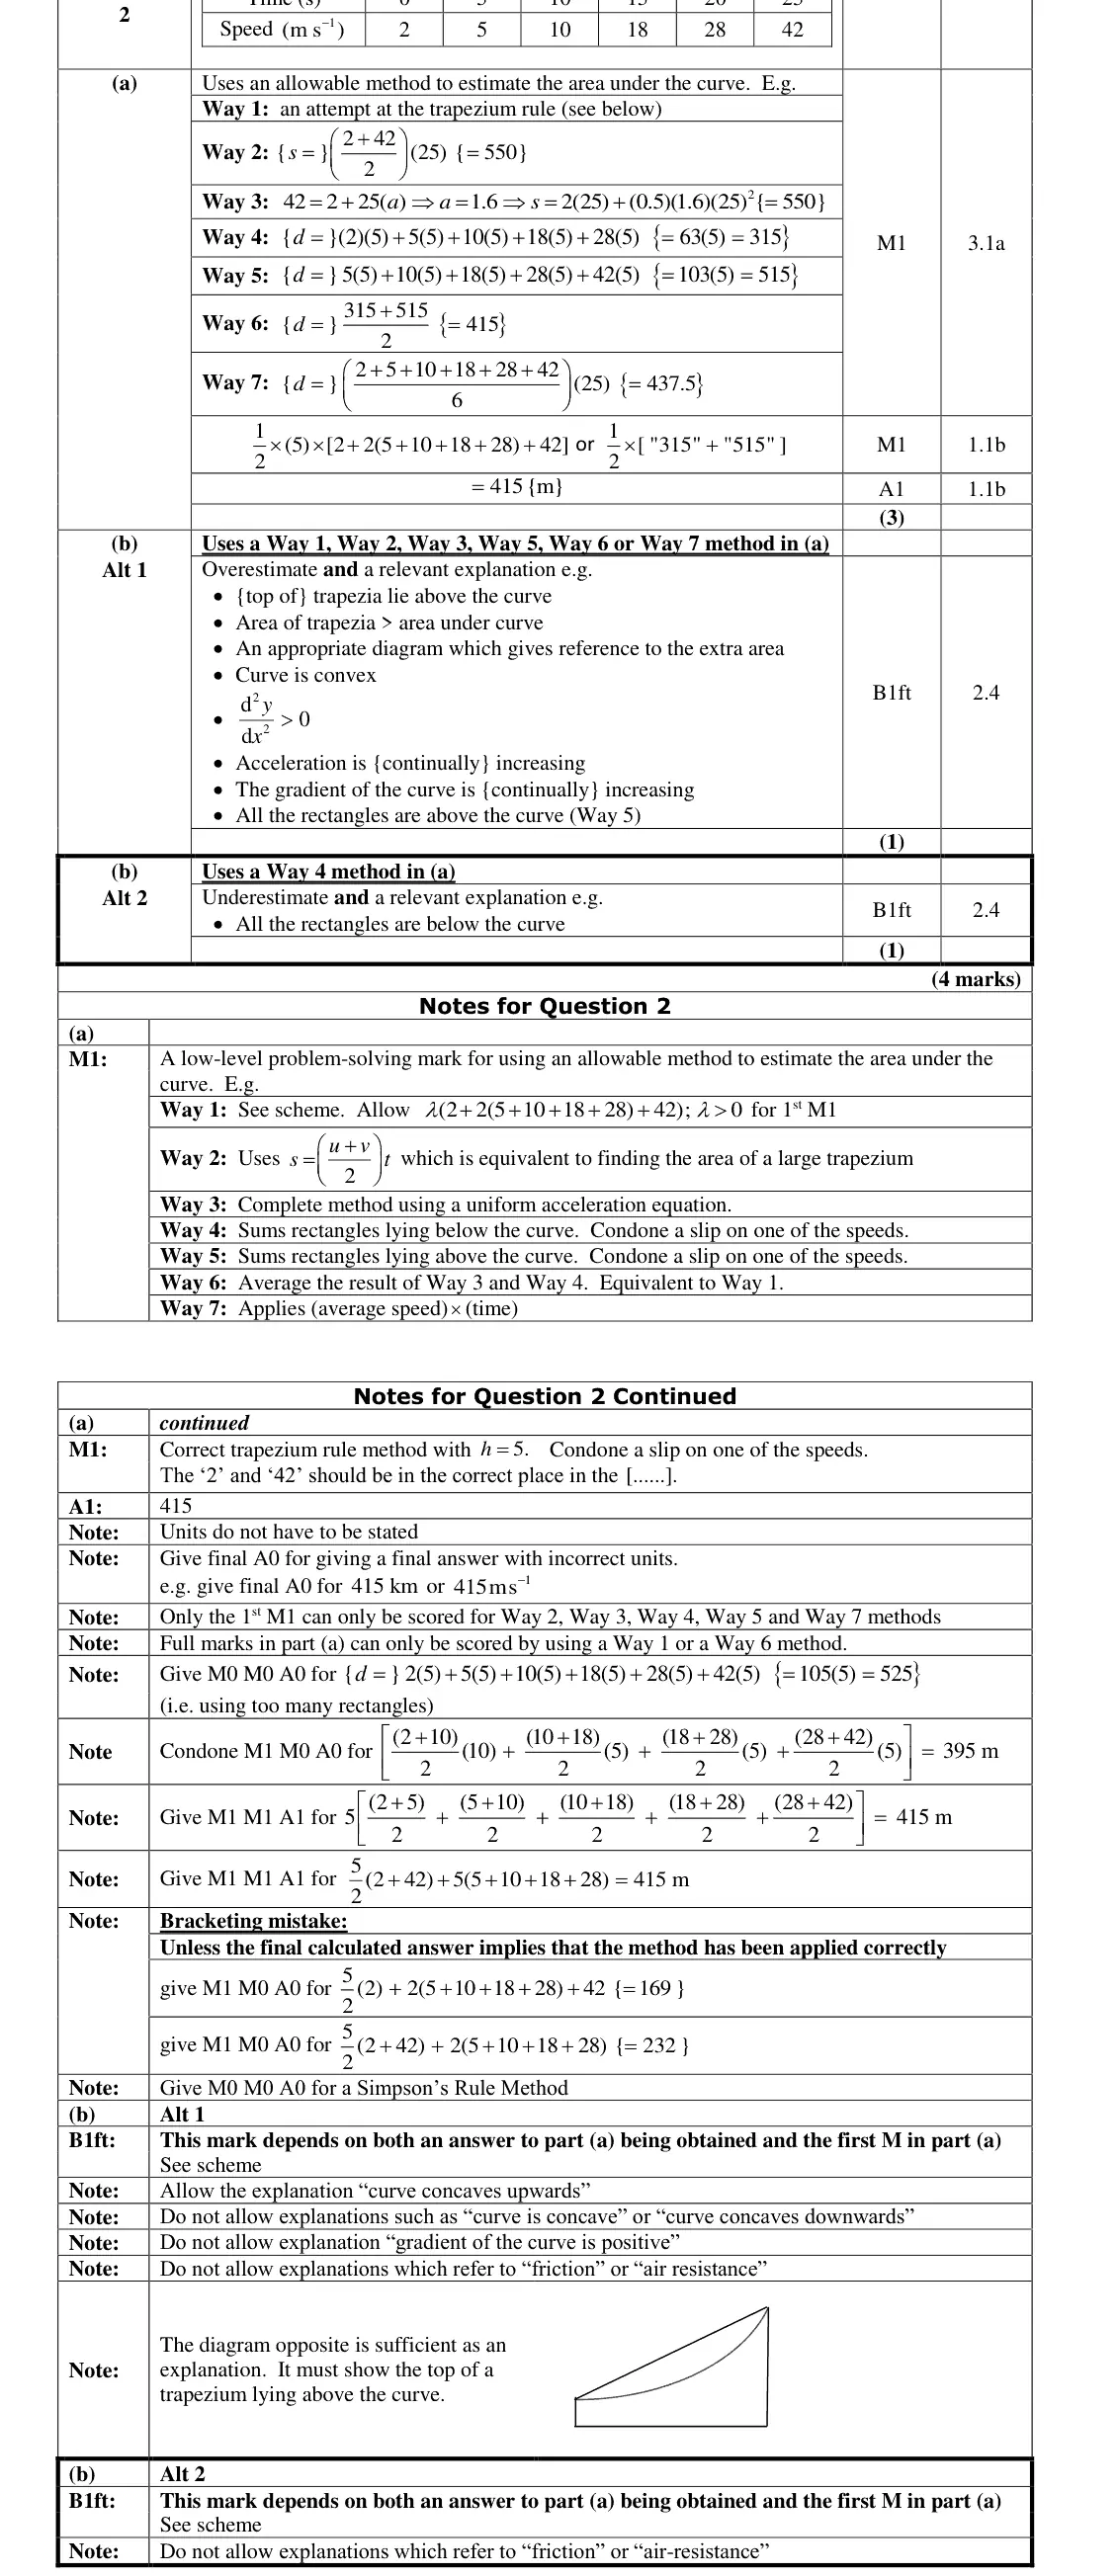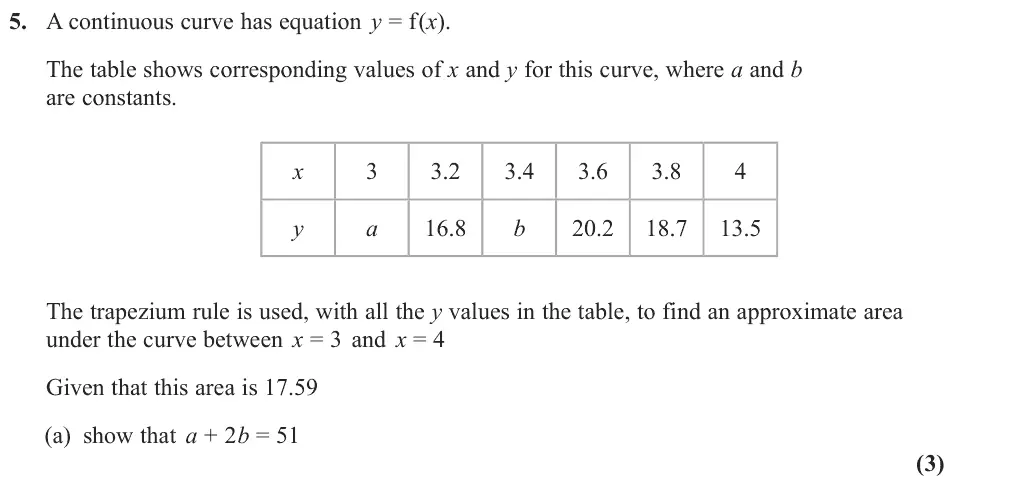
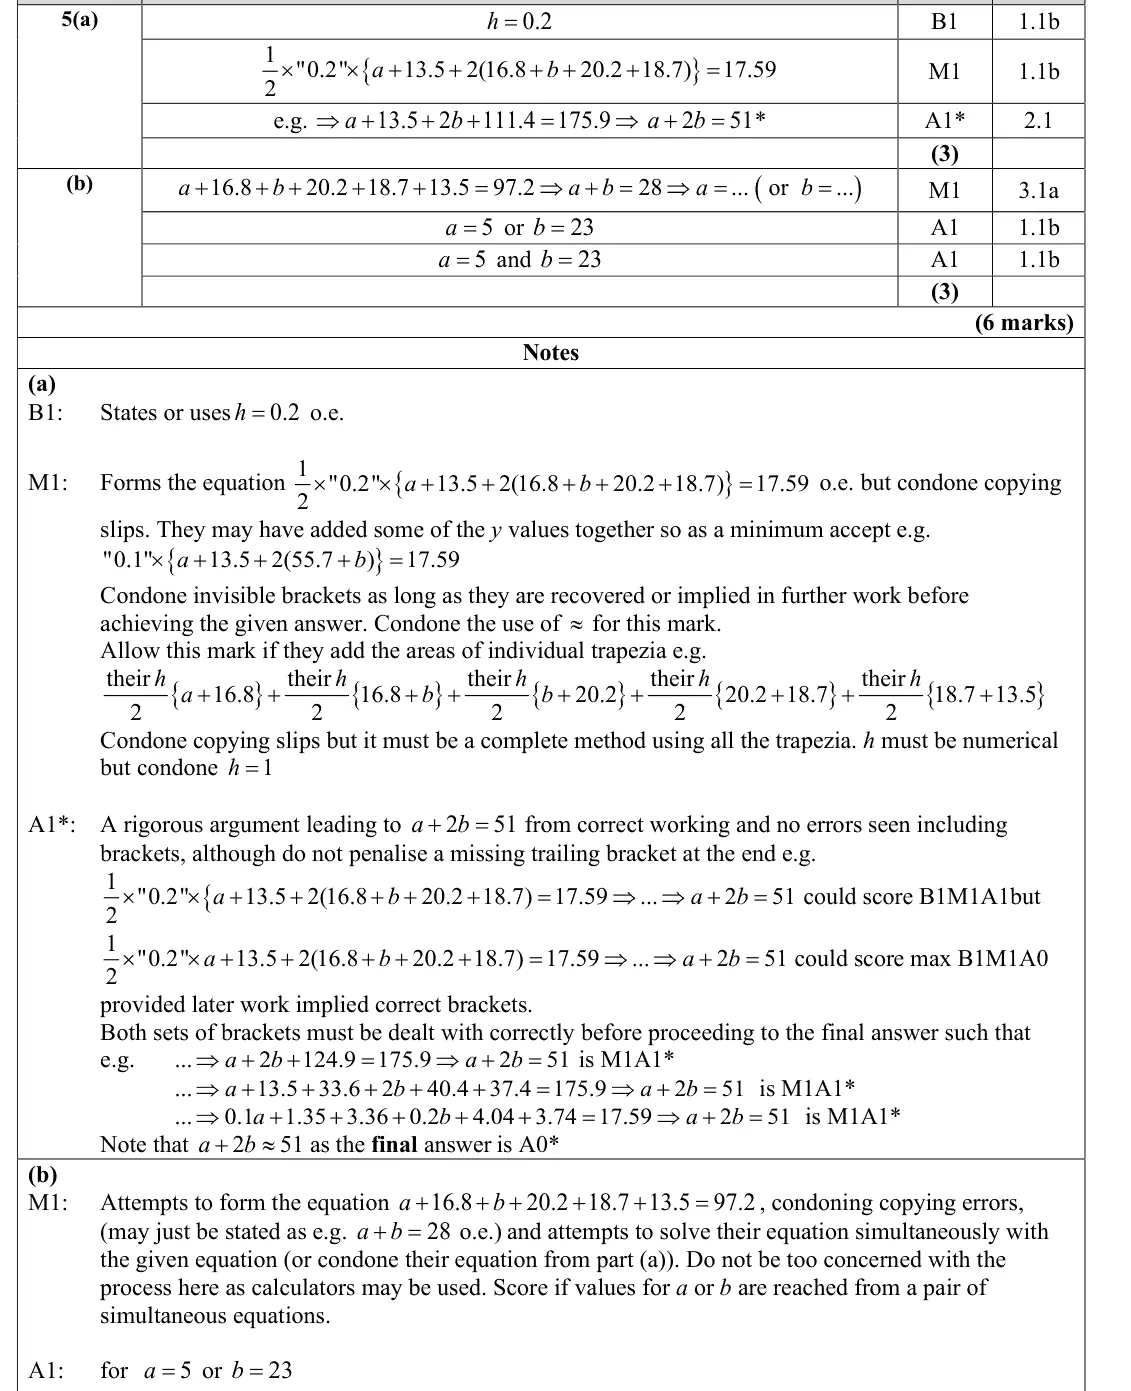
Mark scheme (whole question; this part is marked with the orange bar)
Examiner's comment
This was a lovely twist on a usually very standard question using the trapezium rule that was overall very well-answered. It was very rare to see a blank response to this question. Candidates usually scored full marks in part (a). Where marks were lost the most common error was working out “h”, the width of each strip, as (4 3) 1 6 6 - = where 6 was the number of ordinates given, rather than (4 3) 1 5 5 - = , where 5 was the number of strips required. Very few candidates failed to give “h” a value. Most applied the standard trapezium rule correctly, although a minority failed to use the area of 17.59 to form an equation. Only a handful of solutions used the method of adding the areas of individual trapezia, which is much more time consuming and does not demonstrate as effectively an understanding the trapezium rule, which is provided in the formula booklet. The brackets were dealt with correctly in most cases although quite a number of candidates expanded the brackets before collecting terms, creating a more difficult equation to cope with. Others multiplied both sides by 10 which made the manipulation much easier. Several candidates had invisible brackets and recovered appropriately but lost the A mark as the answer was given. Although many values needed to be copied from the given table of x and y values, there were very few copying slips seen.
Common mistakes
- h = 0.2
- brackets must be dealt with correctly before reaching the given answer